Over the last two weeks I have shared my dehydrating journey that leads up to packaging what I have recently dried into some convenient "soup-in-a-bag" meals.
I did promise to share what I put into my bags with you, so here is the recipe for your convenience:
For the veg part I added into each bag some dehydrated:
Potatoes (next time I will grate them)
Carrots,
Leeks
Celeriac
Cabbage
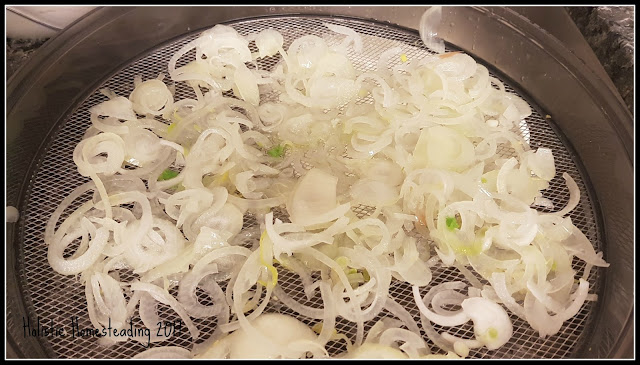
Onion
I didn't weigh them out, and just roughly estimated how much of each I put inside. Perhaps next time I will weigh them out so that I get evenly distributed bags :)
What I forgot to put inside was some kidney beans, but I will add these to the pot this time and next time will be sure to include them in the packets!

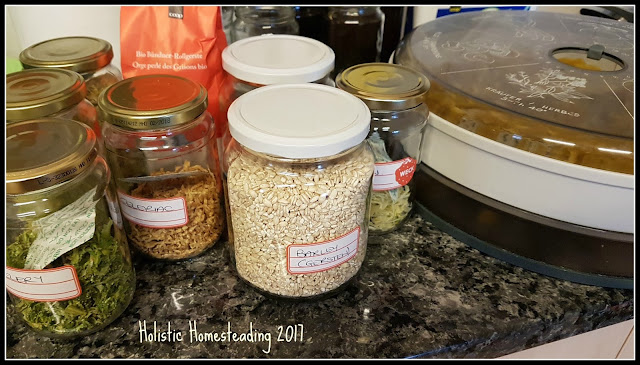
I added half a cup of barley to each bag.

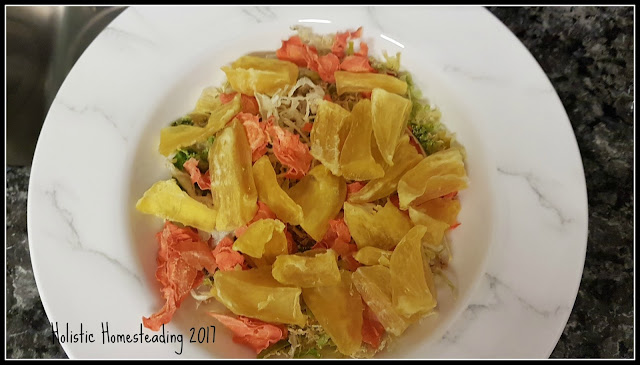
This is the finished bag.
I added 3 bouillon cubes, an oxygen absorber, and as I didn't have any silica bags on hand, I added a teabag which has a teaspoon of rice inside for moisture absorption.

To make, I will empty the contents into a pot, add 1 1/2 liters of water and simmer until ready.
Enjoy :)
x