
Oh my is this yummy!!!
This year Stefan and myself have decided to focus our attention on preserves, and preserve-making as well as general honing of our homesteading talents.
At the moment our temperatures are not ideal to be out in the garden but I am not going to let that stop me in learning some new - or rather re-learning old techniques with a new swing :)
Strawberries were on sale at my local store last week and so I thought this would be the place to start.

I enrolled myself in a great Craftsy course - Jams and Marmalades and started off with her Strawberry Jam class.
This is not the first time I am making jams, but Rachel Saunders taught me how to make jam over a 7 day period to get the most taste possible out of the strawberries - why not, I will try anything at least once.
Let me walk you through my 7 day progress:

Day 1: I had to buy 4 kg of strawberries as not all of the berries were red right to the leaves, the top few are still a little white as I wanted to get to the given weight needed for her recipe. (to be quite frank, I was just a little lazy to work out the recipe with smaller amounts :)) The berries just fit into my largest stainless steel bowl, so I ended up covering them with clear wrap and laying a dinner plate reversed on top of them.

Day 3: The gorgeous aroma of the strawberries is incredibly strong. They are starting to look more syrupy and the sugar is just about completely dissolved. There is quite a bit of liquid to be seen and the strawberries have shrunk considerably.

Day 7: Wow, the smell is amazing - now into the jam stage :)
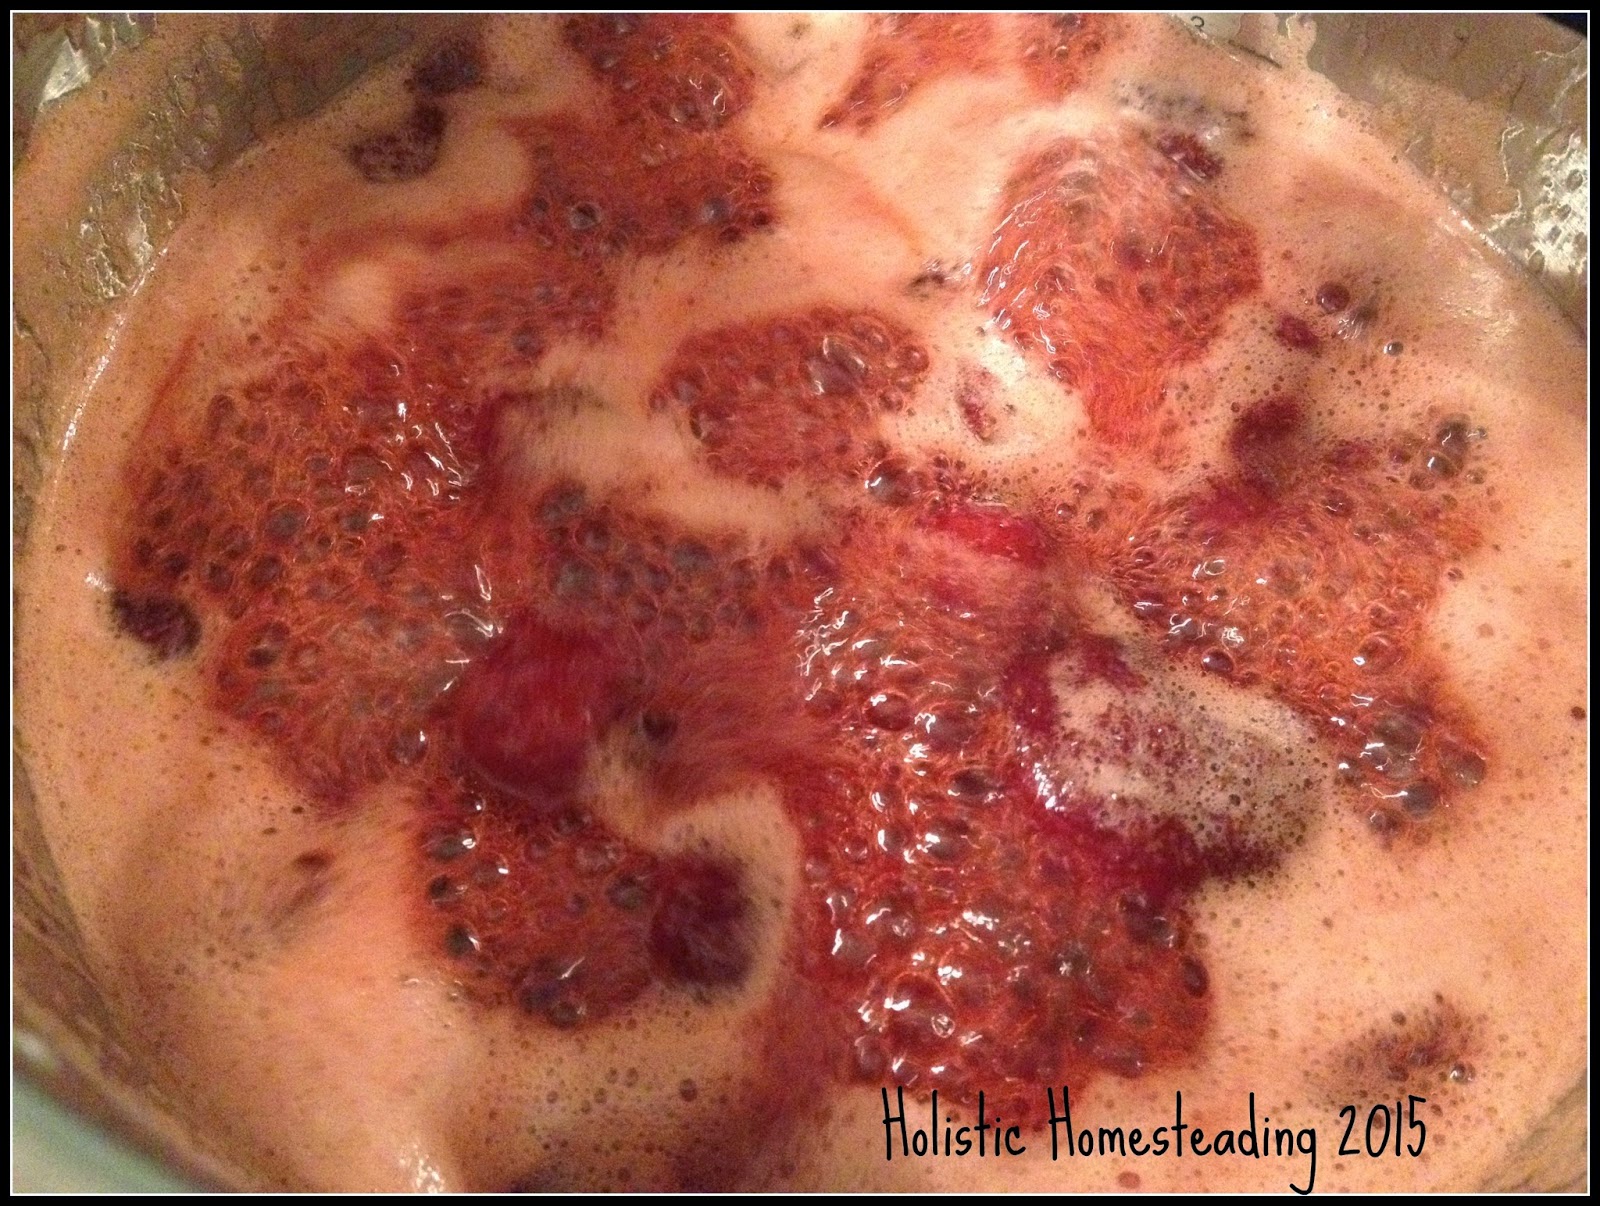
After boiling the jam for quite a while, I finally could bottle it.
I thought I would try Rachel's canning technique as we jar our jams here a little differently.
I sterilized my jars in the oven and then filled them with the jam.
At this point our methods differ.
I would generally fill the bottle right to the brim, screw the lid on tightly and turn the jar over. This creates the vacuum we need to keep our jam for a long time.
Rachel recommends filling the jars till just below the rim, and putting the jars back into the oven for about 15 minutes with the lids finger tight.
As I was a little unsure that my lids would "POP" I thought that I would compromise and fill the jars to the brim and if they didn't vacuum as they cooled I could still turn them on their heads :)

After the allocated 15 minutes back in the oven, I took the jars out and left them on the wire rack face up and see here, after a couple of minutes the first jar made a cool clicking noise!
Day 7: Wow, the smell is amazing - now into the jam stage :)
After boiling the jam for quite a while, I finally could bottle it.
I thought I would try Rachel's canning technique as we jar our jams here a little differently.
I sterilized my jars in the oven and then filled them with the jam.
At this point our methods differ.
I would generally fill the bottle right to the brim, screw the lid on tightly and turn the jar over. This creates the vacuum we need to keep our jam for a long time.
Rachel recommends filling the jars till just below the rim, and putting the jars back into the oven for about 15 minutes with the lids finger tight.
As I was a little unsure that my lids would "POP" I thought that I would compromise and fill the jars to the brim and if they didn't vacuum as they cooled I could still turn them on their heads :)
After the allocated 15 minutes back in the oven, I took the jars out and left them on the wire rack face up and see here, after a couple of minutes the first jar made a cool clicking noise!

You can definitely see the difference between the vacuumed, and non-vacuumed jar - that was quite an exciting moment if I do say so myself!
I will certainly be trying this way of sealing jars again!

And the jam itself - oh my, it is wonderful!
The first jar is gone already - Note to self - M U S T stock up on more berry jam :)
Rachel has a couple of recipe books, one of which I have ordered and am waiting for it to find its way to my doorstep.
As for her other recipes which she shares with us on Craftsy - Once summer is in full swing and I can get my hands on local lemons, I will definitely be working through her lemon marmalade course and can't wait to try that.
Have you started your jam making yet?
Join us tomorrow for our Linky Party - Pinterest Recipes Tried and Tested!
If you have some Recipes which you would like to share come on over and join in the fun :)
Have you started your jam making yet?
Join us tomorrow for our Linky Party - Pinterest Recipes Tried and Tested!
If you have some Recipes which you would like to share come on over and join in the fun :)


No comments:
Post a Comment
Thank you so much for leaving a comment, we so appreciate hearing from you.
We will reply to all comments posted :)
x
Natalie and Stefan