Today I would like to share two really great variations of apricot pickle with you.
If you like a bit of tang and like pickled veggies, you may love the taste of pickled apricots!
Pickled apricots go well with cheese dishes, like our typical winter Raclette (a Swiss Cheese Dish)
First up:
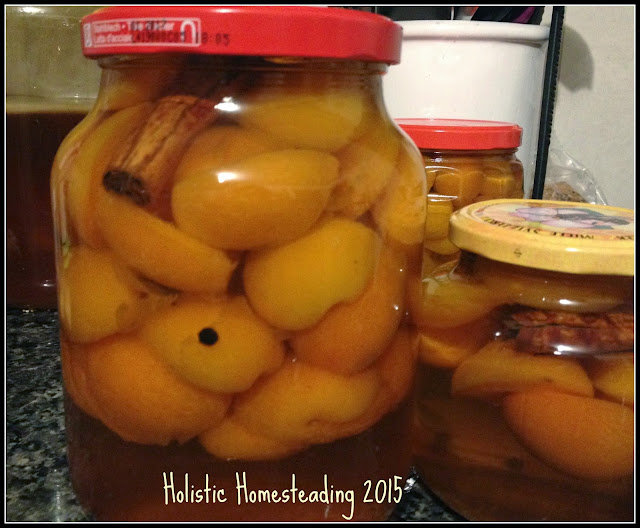
Pickled Apricots
For this recipe you will need:
1kg Firm Apricots, halved and pitted
600ml White Wine Vinegar
500g Sugar
1 Cinnamon stick
(If using more than 1 jar break in half so that each jar will have a piece)
2-3 Cloves
8-10 Peppercorns
Canning Jar/s
In a pot place the water, vinegar, sugar and herbs.
Bring to a rolling boil and the place the apricots inside for 2 minutes.
Remove the pot from the heat and place the apricots into your jar/s.
Bring the liquid once more to a rolling boil and boil for another 2 minutes.
Remove from the heat and pour over the fruit straight away, dividing the spices between the jars if you are using more than one..
Fill the jar with the liquid until just under the rim (if need be boil a little more vinegar to fill jar), seal and place the jar on it's head.
After 5 - 10 minutes turn jar upright and allow to cool.
Check the vacuum once cool (the lid should be slightly concave)
Label and store.
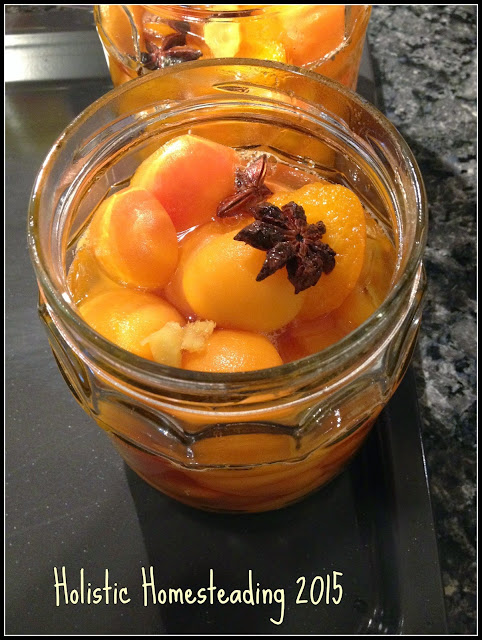
Sweet and Sour Apricots

For this recipe you will need:
1kg Firm Apricots, halved and pitted
150 ml water
300ml White wine vinegar
500g sugar
2 Star Anis
3cm Root ginger, peeled and finely chopped
3-4 Cardamon pods
Canning jar/s
In a pot place the water, vinegar, sugar and herbs.
Bring to a rolling boil and the place the apricots inside for 2 minutes.
Remove the pot from the heat and place the apricots into your jar/s.
Bring the liquid once more to a rolling boil and boil for another 2 minutes.
Remove from the heat and pour over the fruit straight away, again dividing the spices between the jars if you are using more than one.
Fill liquid to just under the rim of the jar (if need be boil a little more vinegar and water at a 2:1 ratio to fill jar), seal and place the jar on it's head.
After 5 - 10 minutes turn jar upright and allow to cool.
Check the vacuum once cool

Label and store for the wintry months, or until you can't bear it any longer and need to try it ;)
I would love to hear your feedback on how you liked these pickles.
Do you make fruit pickles?
Until next time
x


